

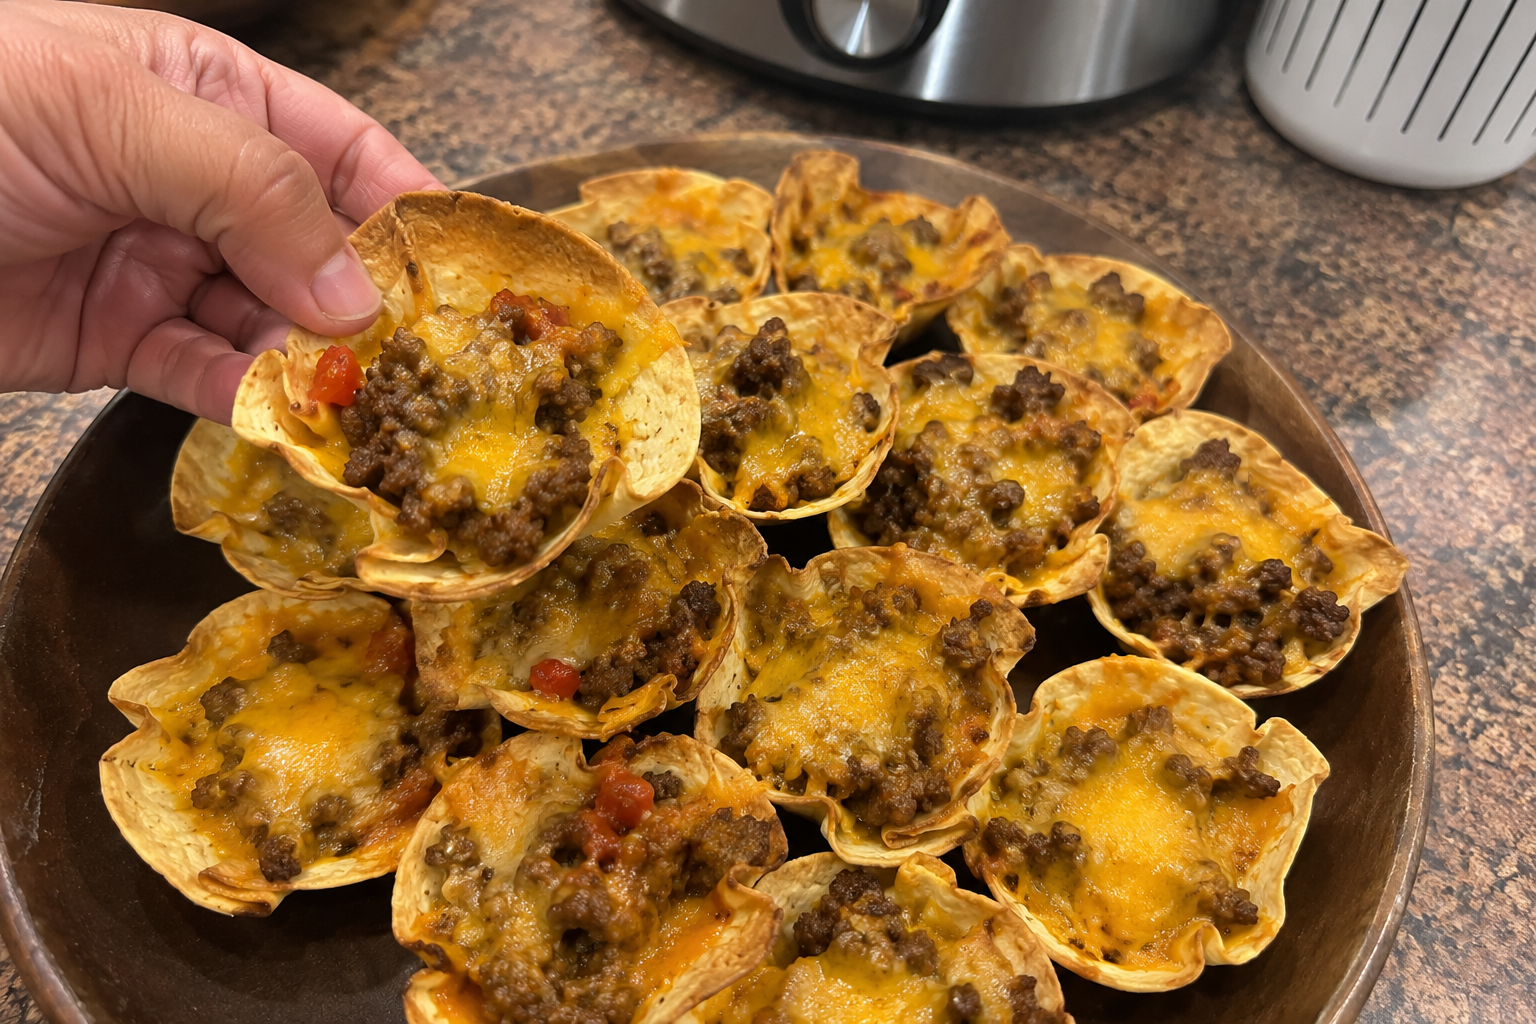
Quick Heads-Up: I’m posting my all-time favorite backyard recipe Tortilla Cup Recipe here for kitchen inspiration. I’m not a nutritionist or doctor, so if you have food allergies or strict dietary rules, be sure to double-check your ingredients and consult with a healthcare professional before diving in.
Okay, let’s be real about summer barbecues for a second. We romanticise them all winter long. We picture ourselves lounging on patio furniture, sipping on ice-cold drinks, laughing with friends, with a perfectly curated playlist playing in the background.
But if you’re the one hosting the party? It’s usually a lot more chaotic in reality.
You’re sweating in front of a hot grill, trying to get the timing right on the burgers, hoping the potato salad hasn’t been sitting out in the sun too long. Meanwhile, your guests are pacing around the patio, starving, and eyeing the sad bag of plain potato chips you hurriedly tossed into a bowl.
I would fall into the “host trap” every single time. I’d plan these crazy complicated finger foods. I’m talking about bacon-wrapped, cream-cheese-stuffed, glazed-and-baked stuff that had me in the kitchen for two hours while everyone else was outside having a real party.
Then I found the holy grail of party food — the ultimate tortilla cup recipe.
It’s such a stupidly easy snack that I almost feel guilty accepting compliments for it. This tortilla cup recipe only takes 3 ingredients! It takes, maybe, ten minutes of actual work. And I guarantee you, every time I put a platter of these on the patio table, they’re gone in less than a minute. You’ll put the tray down, turn to grab a napkin, look back and they’ll be gone.
If you want to get your summer back and truly love the barbecues you hold, you need this three-ingredient tortilla cup recipe in your back pocket.
The Magic of 3 Ingredients
The internet has trained us to think that flavor can only come from recipes with twenty ingredients and three different cooking techniques. Yet some of the best food in the world is based on the idea of simplicity. If you’ve only got three things, there’s no hiding places, you just need to make sure those three things are doing what they’re supposed to do — and that’s exactly how this tortilla cup recipe works.
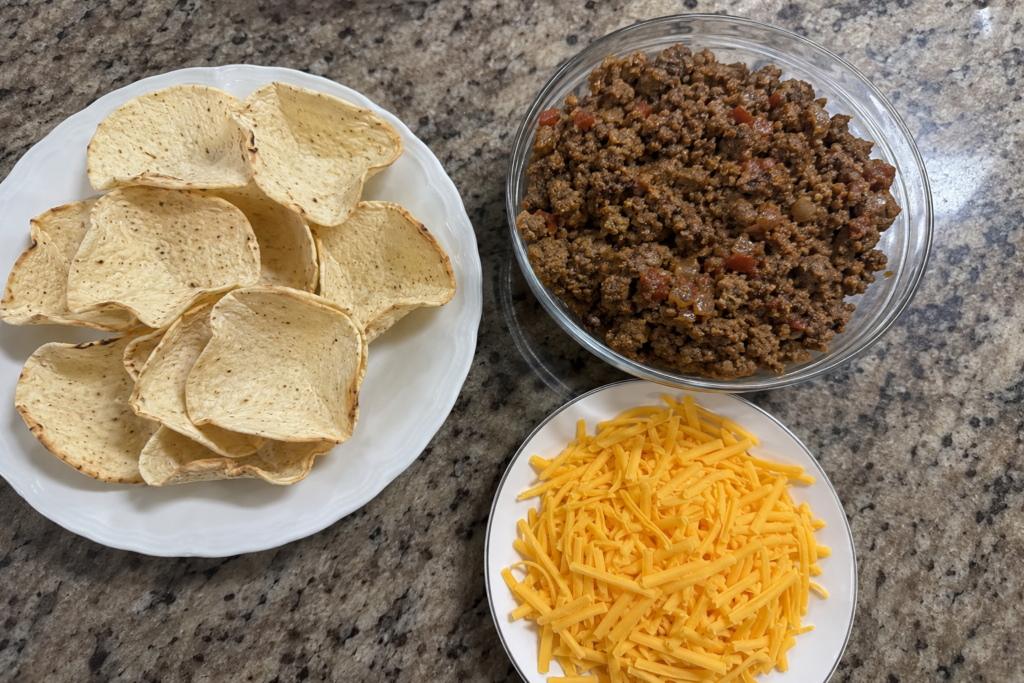
Here is the complete grocery list for Tortilla Cup Recipe:
1. The Shells (The Edible Shell)
No more crumbly chips that disintegrate the second you dip them. You want the pre-made bite-sized tortilla bowls or crispy corn snack cups (these are usually in the chip aisle right next to the regular tortillas). These little guys are the real heroes of the tortilla cup recipe. They’re a sturdy, crunchy container for all the savory goodness, and they don’t get soggy. They give you the perfect crunch to filling ratio in every bite.
2. The Savory Core (The Meat)
You want a protein that punches. You’ll need one pound of ground beef or ground turkey and your favorite packet of taco seasoning. Honestly, whatever brand you grew up eating is probably the one you should use. If you want to stretch the recipe to feed a massive crowd — or if you just want to bulk it up a bit — you can easily toss a drained can of black beans or some diced onions into the skillet while the meat cooks.
3. The Glue (The Cheese)
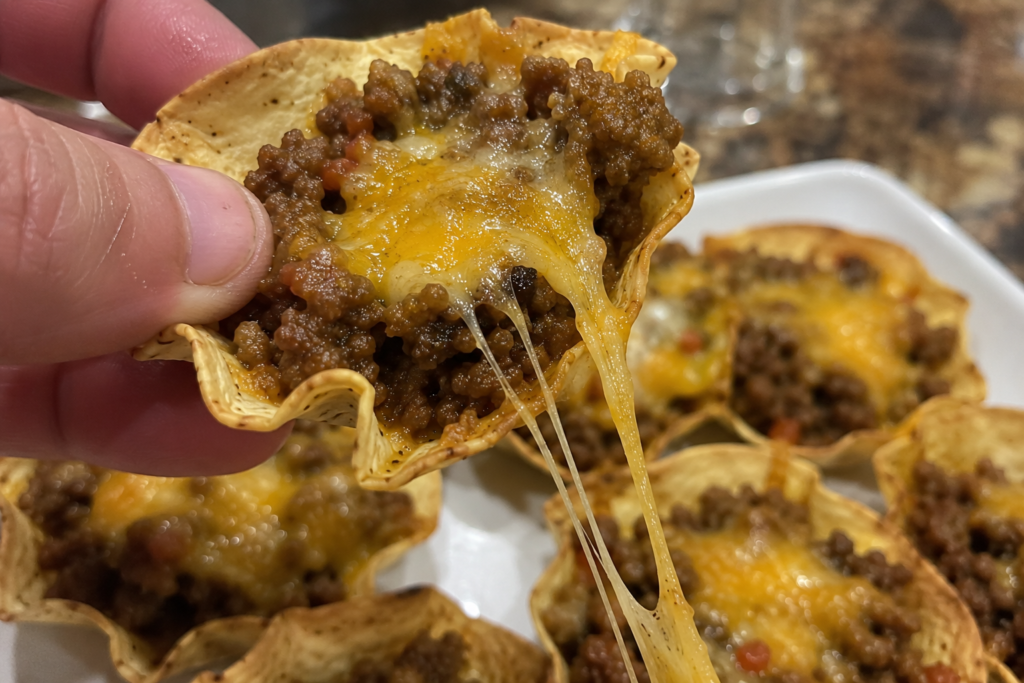
Don’t skip the cheese and more importantly, don’t skimp on the cheese. You want a massive handful of shredded cheddar, Monterey Jack, or a solid Mexican cheese blend. The cheese isn’t just a garnish here; it’s a structural requirement. As it melts in the oven, it bubbles up, trapping the meat inside the crispy shell. It creates a gooey, golden-brown seal that holds the whole operation together.
Why This Tortilla Cup Recipe Drives People Crazy
You might be wondering how three basic ingredients can cause a stampede at a backyard party. The way we experience food is the key factor.
First, let’s talk about the texture. Humans are built to love contrasting textures. You first hear the loud crunch of the corn shell when you pop one in your mouth. You hit the warm, tender, heavily seasoned meat almost immediately afterwards. Then you get the rich, creamy pull of the melted cheese. It’s a textural rollercoaster in one bite and that’s so satisfying.
Then, you have the flavor harmony. For decades, comfort food has been defined by salty, spiced, savory meat and melted dairy. Tacos, nachos, cheeseburgers — they all have this exact same flavor profile because it lights up the reward centers in our brains. This tortilla cup recipe delivers exactly that, in a perfect bite-sized package.
But the reality is, these snacks are the best BBQ snacks. The logistics.
Think of traditional nachos. People have to hover over the plate trying to untangle a giant web of melted cheese, usually ending with half the toppings falling on their shoes. These little bites fix that. They are totally self-sufficient. Your guests can pick one up with two fingers, hold their drink in the other, and continue to socialize without missing a beat. No plates, no forks, no messy hands.
The No-Stress Playbook (How To Make This Tortilla Cup Recipe)
I promised I wouldn’t keep you in the kitchen with the process and I wasn’t kidding. You can literally make these while waiting for your grill to heat up outside.
Step One: The Skillet
Add your ground meat to a skillet on medium-high heat. Break it up with a spatula and let it brown off. Once cooked through, drain off any excess grease. Add your taco seasoning and a splash of water (do what the packet says) and let it simmer until it is thick and smells amazing. If using beans, fold them in at the end just to warm them through.
Step 2: The Assembly Line
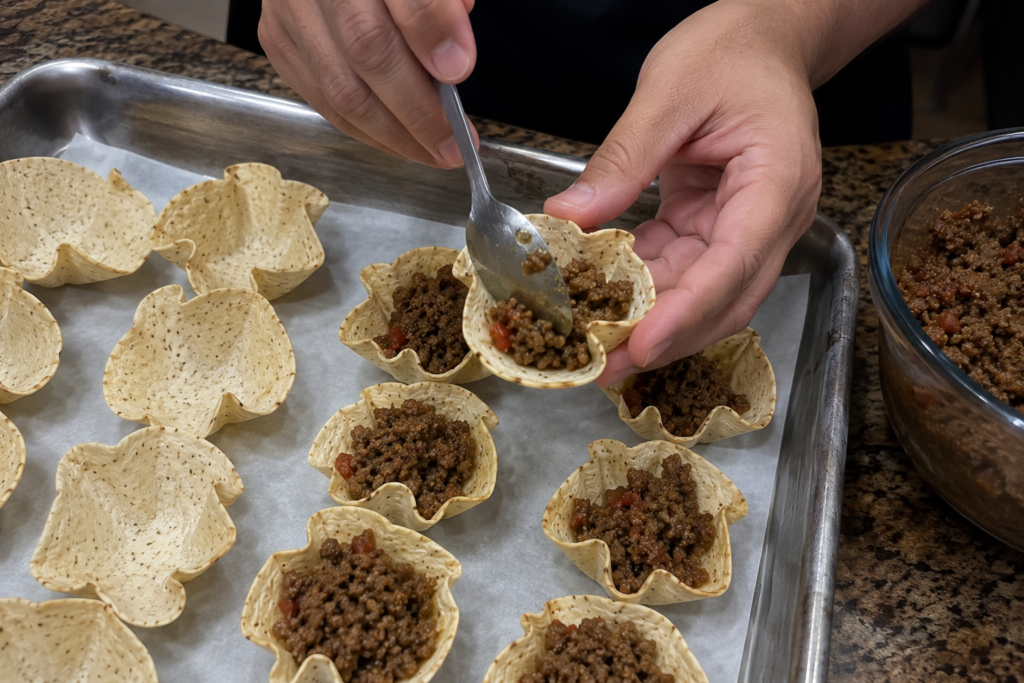
Get a large cookie sheet and line it with parchment or foil (your future self will thank you for the easy clean up). Arrange your crispy corn cups on the tray. Grab a small spoon — a teaspoon works perfectly — and scoop the meat mixture into the cups.
Pro-tip: Resist the urge to build a mountain of meat in each cup. If you overstuff them, they’ll spill over in the oven and burn on the pan. Keep the filling level with the rim of the cup.
Step 3: Make it Rain Cheese
Take your shredded cheese and add a generous pinch to the top of every single cup. Make sure the cheese covers the meat completely and touches the edges of the corn shell. This is what forms that glorious, edible seal.
Step 4: Fast Melt
Slide the tray into an oven preheated to 350°F (175°C). You aren’t really “baking” these, because it’s all precooked. You are just melting the cheese and heating the shells. Watch them carefully. It usually takes about 4–6 minutes. You want the cheese melted all the way through, a little bubbly, and just starting to get those beautiful little brown spots.
Step 5: The All-Important Rest Period
When you take them out of the oven, don’t serve them right away. I know they smell good and you want to eat them, but leave them on the tray for about three to five minutes. This resting phase allows the cheese to cool down a little and “set.” If you try and move them when molten hot they may fall apart. Once rested, transfer to a platter and watch them disappear.
Final Thoughts
This is it — the tortilla cup recipe that’ll have your guests asking for the instructions, and you’ll be almost embarrassed to tell them how easy it was. It’s the ultimate combo of convenience, flavor, and pure snackability. It proves that the best party food doesn’t need a culinary degree or a mile-long ingredient list. Just a little common sense and a love for honest, good food.
Next time you’re hosting, ditch the stress, keep your ingredient list short, and actually enjoy your own party. Your guests will thank you — and your sanity will, too.
Disclaimer: This recipe is shared for informational and entertainment purposes only. I am a passionate home cook, not a certified nutritionist or medical professional. Ingredient brands and nutritional values vary, so if you have strict dietary needs or severe food allergies, please check your labels carefully and consult a healthcare provider. Cook safely and enjoy at your own risk!
About the Author: Emily Carter is a health and wellness writer who specializes in making complex nutrition science accessible and practical for everyday readers. Her articles are thoroughly researched and rely on reputable, published sources.